Orthopedics: joint chart
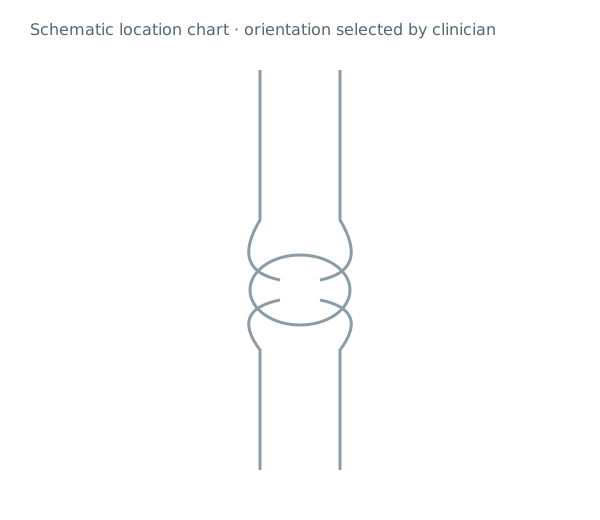
Select Orthopedics · joint location chart and document clinician findings with explicit location notes.
Chart example
These previews show the actual original templates available in Rapivexa. Choose a suitable chart for your specialty; record patient side and view in the notes.
Step by step
- Open your purchased clinic → Clinical care → Doctor workspace → choose patient → Write prescription. Select the consultation specialty. Suggested departments: Orthopedics. Charts are available across specialties.
- In Consultation, expand Visual charts & annotations — optional. Select Orthopedics · joint location chart from Diagram template, then Add diagram.
- Choose Pen, Arrow, Circle or Numbered marker and a colour. Drag to draw; tap to place a numbered marker. Use Undo last mark to correct a mark.
- State the actual joint, patient side and view in notes. This generic joint schematic is not a labelled knee, shoulder or radiographic interpretation template.
- Use Findings / orientation / numbered-marker notes to explain the marks. Keep Include this chart on the printed prescription checked for print, or uncheck for clinical-record-only storage.
- Review the prescription and tick clinician review, then Save & preview prescription. Confirm the chart and notes before printing. New visits do not automatically copy these diagrams.
Keep in mind
Original schematic location chart; not an anatomically validated diagnostic illustration. Use up to 3 charts per prescription and 60 marks per chart. Other departments may use a suitable chart, but there is no dedicated diagram for every specialty.
Related guides
Add visual charts to a prescription
Select a location chart, mark findings and choose whether to print it.
Read guide →Patients & careCreate and print a prescription
Review patient details and medicine instructions before printing.
Read guide →Patients & careReview a patient profile and history
Use the patient record to follow previous care.
Read guide →Still need help?
Send your clinic code and the exact issue. Keep passwords and patient information private.
Contact AlphaRapid All guides