Add visual charts to a prescription
Select a location chart, mark findings and choose whether to print it.
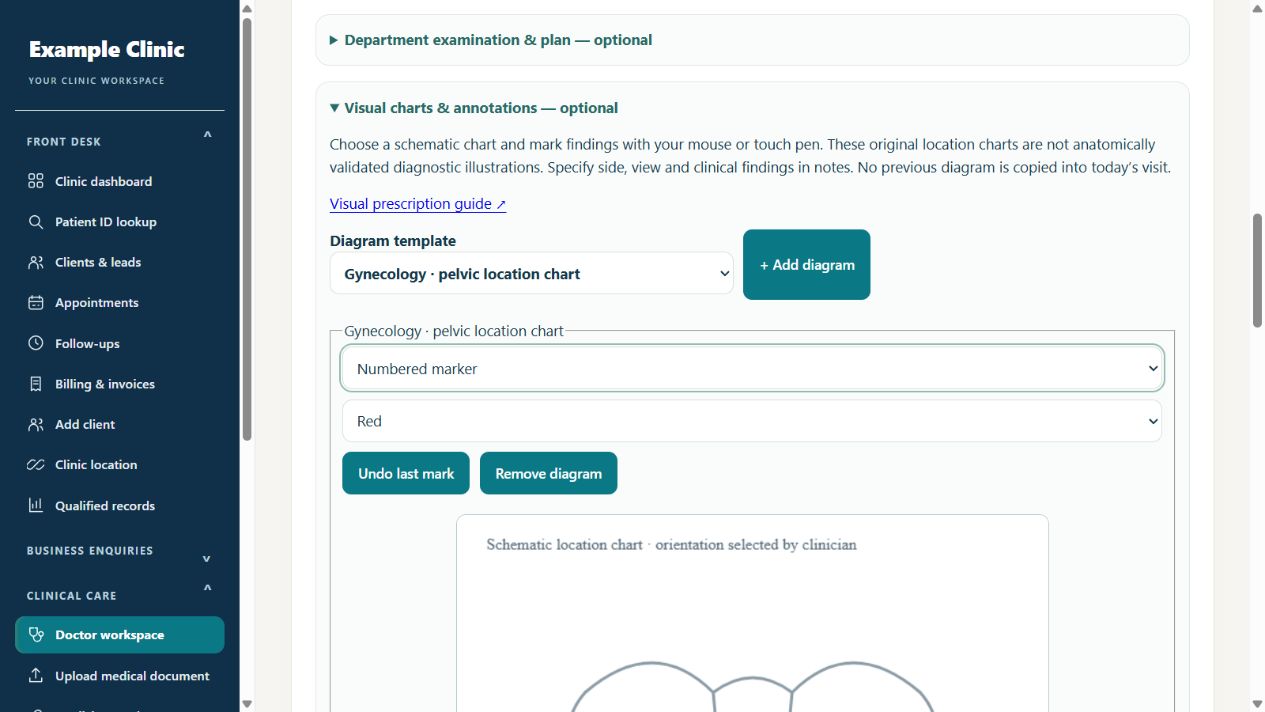
All seven charts: department guides
These previews show the actual original templates available in Rapivexa. Choose a suitable chart for your specialty; record patient side and view in the notes.
Gynecology: pelvic chart
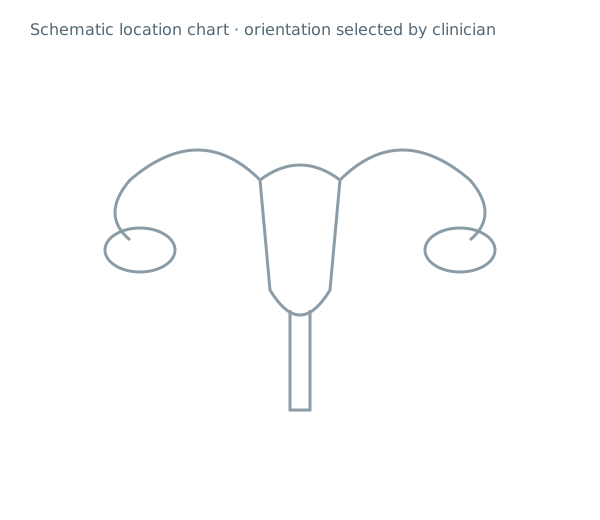
Describe the marked pelvic location, the view and patient side in notes. The chart is schematic; it does not establish an anatomical diagnosis.
Open department guide →Ophthalmology: paired-eye chart
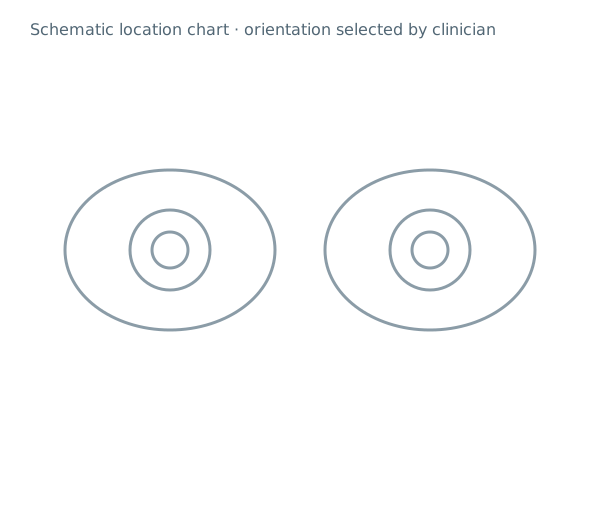
Explicitly identify patient right/left eye and the view in notes. The paired outlines are not a retinal, corneal or diagnostic imaging chart.
Open department guide →Skin and general care: front body chart
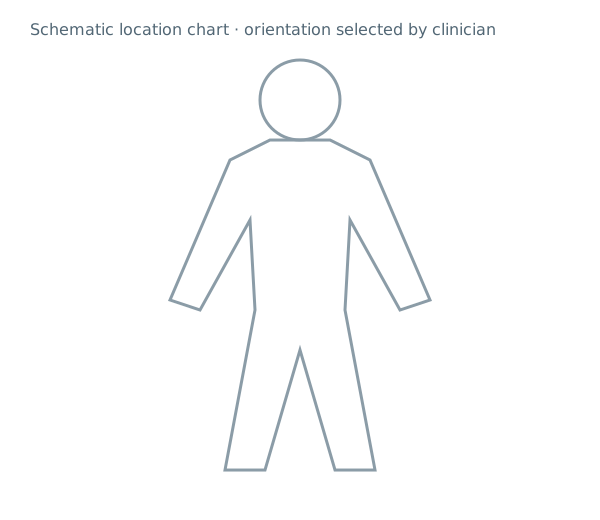
Use numbered markers to reference documented locations on the front-body outline. Write patient side, location and findings beside the marker number in notes.
Open department guide →Skin and general care: back body chart
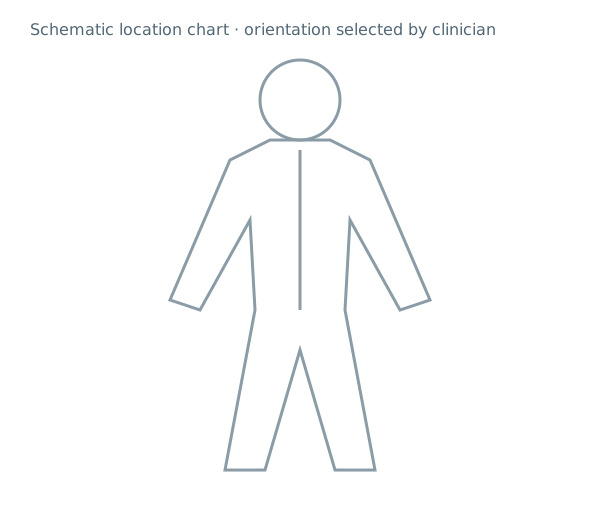
Use the rear-body outline for documented location marking. State the patient side and exact location in notes; it is not a dermatome or spine diagnostic chart.
Open department guide →Skin and ENT: face chart
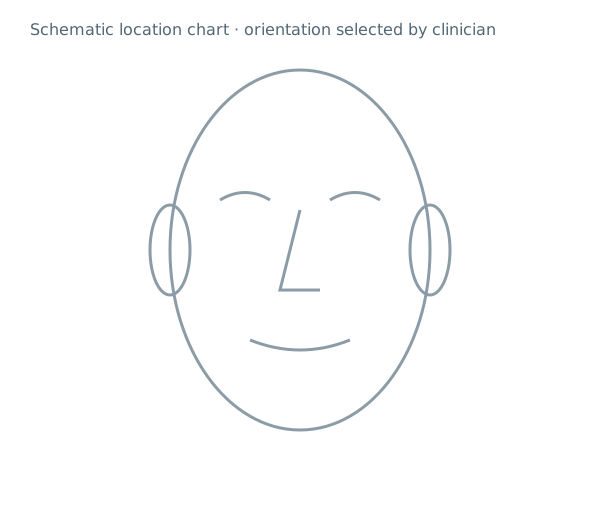
Mark the face outline and record patient side and the meaning of each mark. This is a surface-location outline; it is not an internal ear, nose or throat anatomy chart.
Open department guide →Orthopedics: joint chart
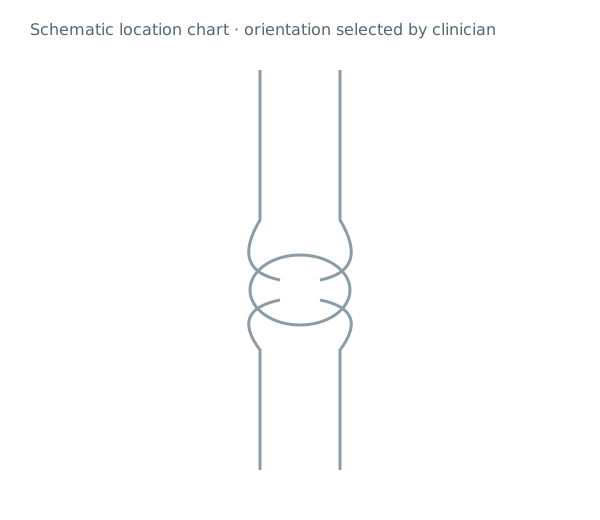
State the actual joint, patient side and view in notes. This generic joint schematic is not a labelled knee, shoulder or radiographic interpretation template.
Open department guide →Dental: arch chart
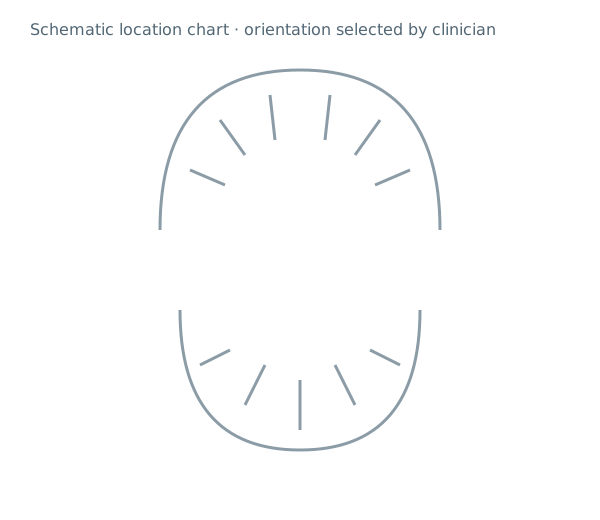
State the upper/lower arch, patient side and exact tooth identifiers using your clinic convention in notes. The diagram does not provide a numbered odontogram or automatically assign tooth numbers.
Open department guide →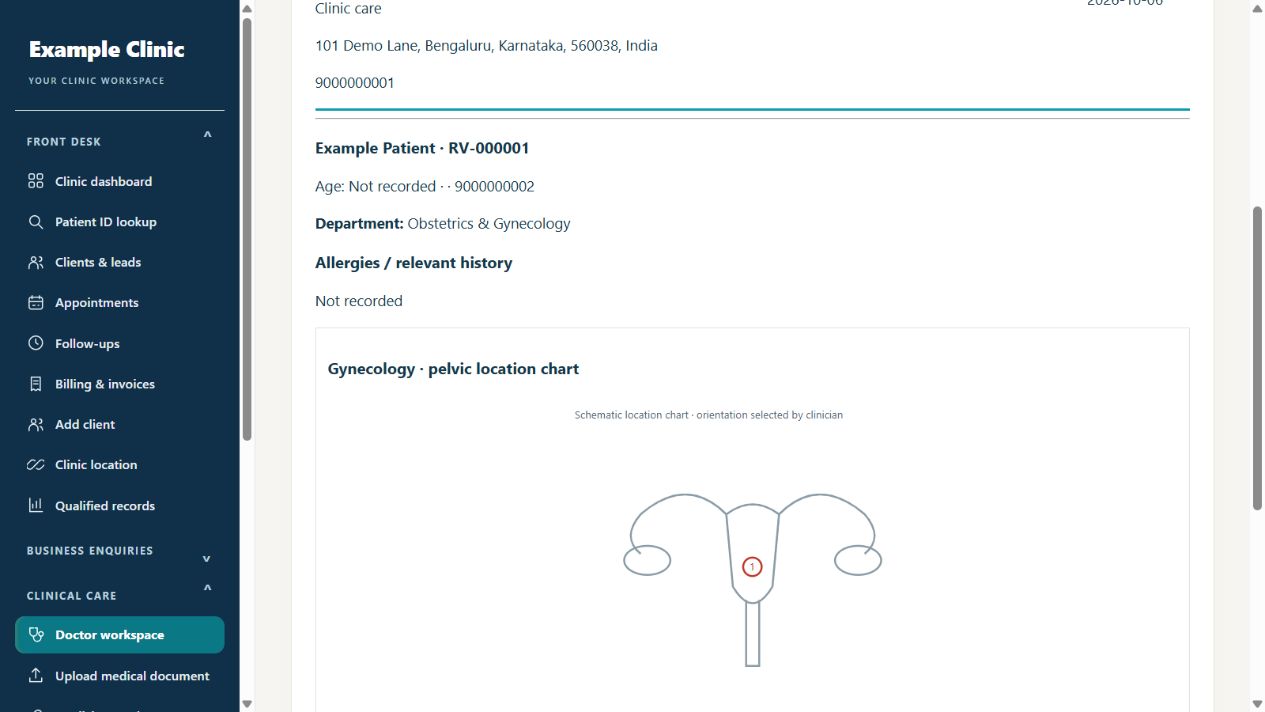
Step by step
- Open Clinical care → Doctor workspace, choose the patient, then Write prescription. Under Consultation, expand Visual charts & annotations — optional.
- Choose a diagram template and press Add diagram. Available charts include gynecology pelvic location, paired eyes, body front/back, face, joint and dental arch. Any specialty may choose a suitable chart.
- Choose Pen, Arrow, Circle or Numbered marker and a colour. Drag on the chart for lines, arrows and circles; tap for a numbered marker. Touch pen drawing is supported. Use Undo last mark to correct the latest mark, or Remove diagram to discard the chart.
- Write the findings in the chart notes. Specify patient side, view and the meaning of each numbered marker: the templates do not assign anatomical orientation or tooth numbering for you.
- Leave Include this chart on the printed prescription checked to print it. Uncheck it for a clinical-record-only chart; it remains visible in the authenticated prescription preview and is excluded from printing.
- Review all findings and medicines, complete clinician review and Save & preview prescription. Check the chart and notes in the preview before using Print / Save PDF.
- For a new visit, draw a new chart. Previous diagrams remain in the earlier prescription and are deliberately not copied forward. A saved chart cannot be changed by altering the next visit.
Keep in mind
These original schematic location charts are not anatomically validated diagnostic illustrations. Use them for clinician location marking with explicit notes. This version provides seven fixed charts, up to three charts per prescription, 60 marks per chart and a 60 KB annotation-data limit. Arbitrary image uploads and patient photo annotation are not included. Drawing runs in the browser; the encrypted prescription record stores small vector annotations, not large bitmap images.
Department-specific chart guides below cover all seven available templates. General Medicine, Pediatrics, Surgery, Cardiology, Hair and other departments may select a suitable chart; no dedicated organ chart is provided for every department.
Related guides
Gynecology: pelvic chart
Select Gynecology · pelvic location chart and document clinician findings with explicit location notes.
Read guide →Patients & careOphthalmology: paired-eye chart
Select Ophthalmology · paired eye chart and document clinician findings with explicit location notes.
Read guide →Patients & careSkin and general care: front body chart
Select Body · front location chart and document clinician findings with explicit location notes.
Read guide →Patients & careSkin and general care: back body chart
Select Body · back location chart and document clinician findings with explicit location notes.
Read guide →Patients & careSkin and ENT: face chart
Select Skin / ENT · face location chart and document clinician findings with explicit location notes.
Read guide →Patients & careOrthopedics: joint chart
Select Orthopedics · joint location chart and document clinician findings with explicit location notes.
Read guide →Patients & careDental: arch chart
Select Dental · arch location chart and document clinician findings with explicit location notes.
Read guide →Patients & careCreate and print a prescription
Review patient details and medicine instructions before printing.
Read guide →Still need help?
Send your clinic code and the exact issue. Keep passwords and patient information private.
Contact AlphaRapid All guides