Beds, admissions, transfers & discharge
Manage ward occupancy without connecting medical devices.
Step by step
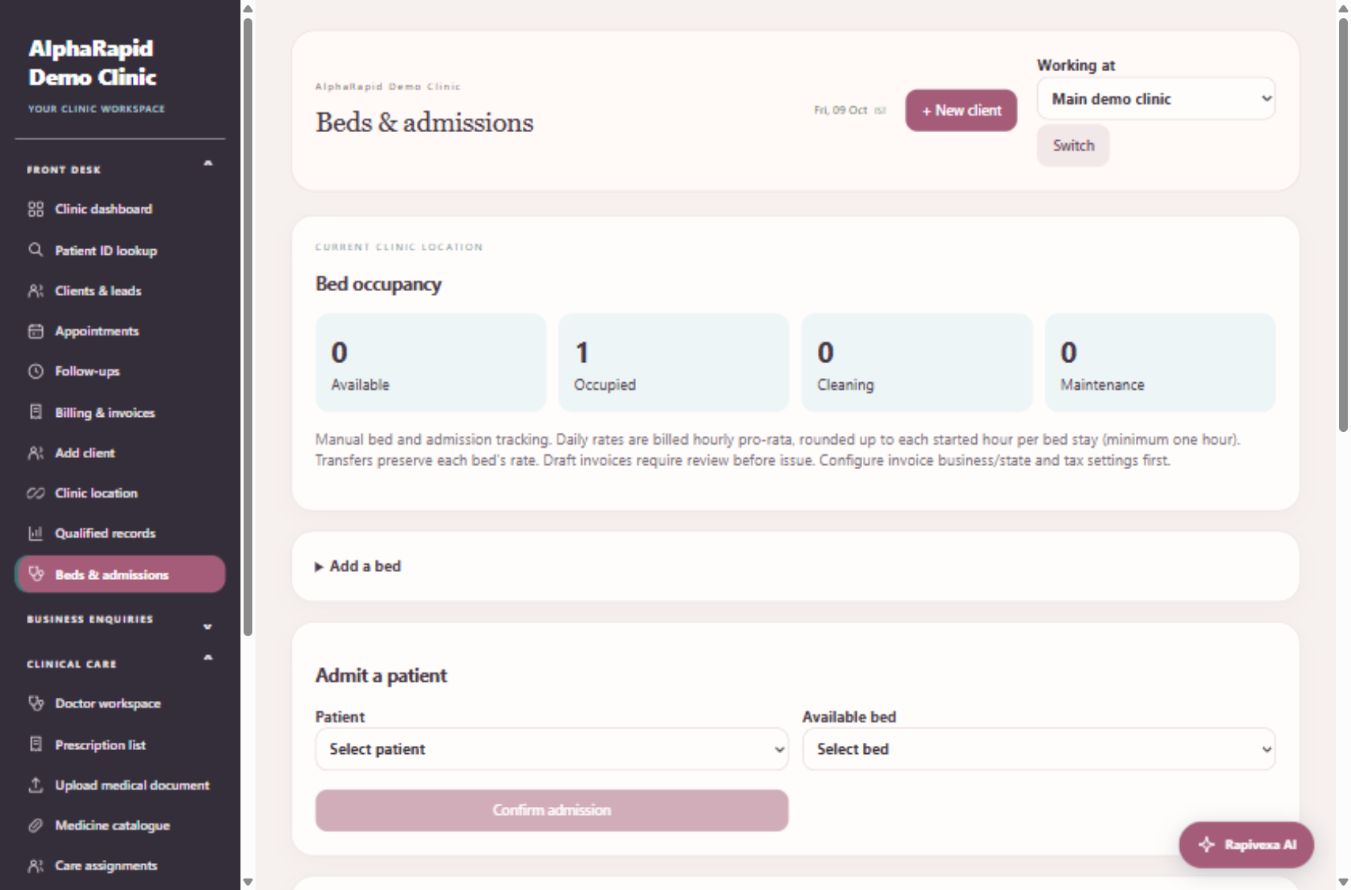
- Open Clinic → Front desk → Beds & admissions. Work in the correct clinic location; switch location before making changes to another branch.
- A clinic admin expands Add a bed and enters ward, room, bed label and daily INR rate. Labels must be unique within the same ward and room at that location.
- Reception, clinic admins and senior doctors select an existing patient and an Available bed, then Confirm admission. One patient cannot have two active admissions. Doctors have a read-only bed view.
- To transfer, choose an Available destination bed and Confirm transfer. The old bed becomes Cleaning; each stay keeps its original daily rate and timestamps.
- After discharge is clinically authorized, tick the discharge confirmation and press Discharge & mark bed for cleaning. Use the bed status control to make it Available only after cleaning, or put an unoccupied bed into Maintenance.
- Review bed transfer & rate history and final charges. Configure invoice business/state and tax settings first, then Create bed-charge draft invoice. Review tax treatment, issue and collect payment through the existing invoice desk. Repeating the button opens the same linked invoice.
Keep in mind
Bed charges use daily rate / 24, rounded up to each started hour per bed stay, minimum one hour. Admission/transfer/discharge times are captured when saved; this version does not backdate visits. Free beds can have a zero rate, but a zero-total draft cannot be issued. Current admissions and the latest 100 admissions appear at the selected location. This is manual operational tracking, not live vital-sign monitoring or a clinical discharge decision.
Related guides
Create a patient invoice and record payment
Clinic invoices are different from software subscription invoices.
Read guide →Clinic & teamManage locations and branch access
Assign staff only to the locations they need.
Read guide →Patients & careAdd your first patient or enquiry
Create one clear record before starting the patient journey.
Read guide →Still need help?
Send your clinic code and the exact issue. Keep passwords and patient information private.
Request setup help · Free All guides