Book and manage an appointment
Check patient, clinician, location and time before saving.
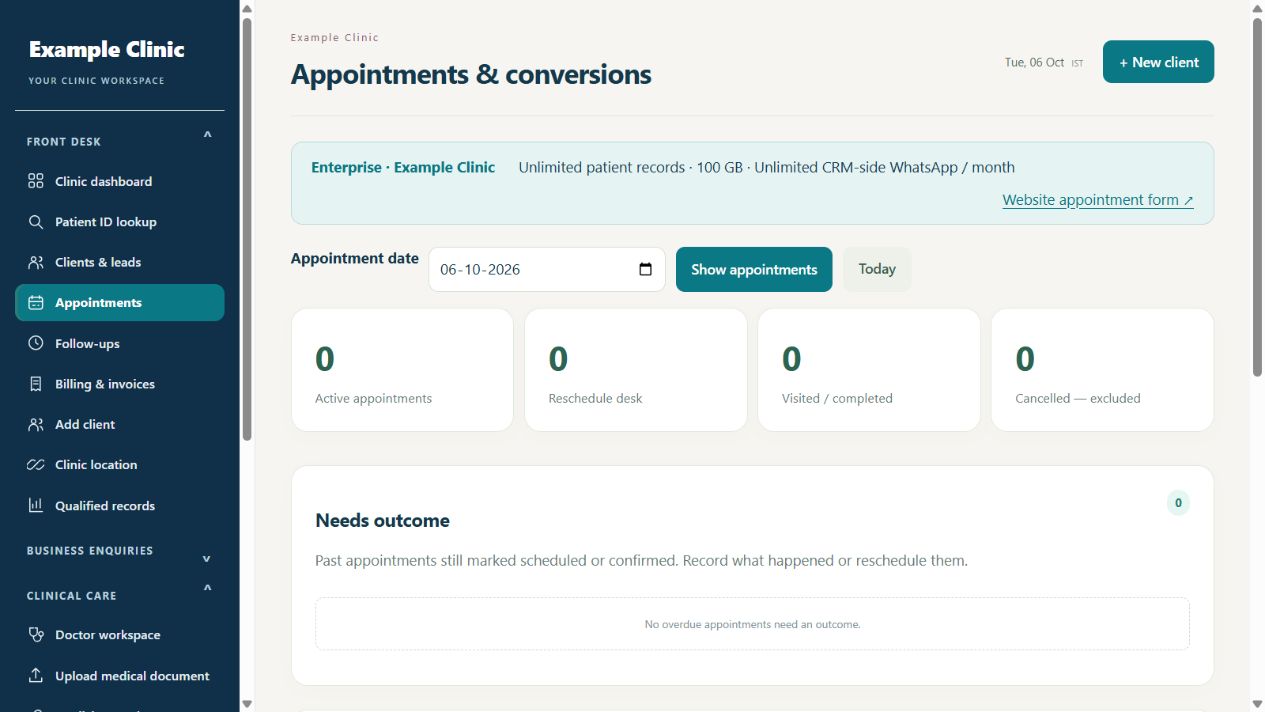
Step by step
- Open Front desk → Appointments. Review Past appointments · action needed at the top before checking the selected date and daily schedule.
- Use the available new appointment action and choose or enter the correct patient.
- Set the appointment date, time, clinician and location as available, then save.
- Reopen the appointment and confirm the saved details.
- Use the appointment edit, reschedule or cancellation controls when plans change; check the result in the schedule.
Keep in mind
CRM appointment times are separate from AlphaRapid expert setup meeting slots. Notifications require the relevant messaging provider and configuration; saving an appointment does not guarantee message delivery.
Related guides
Appointments & follow-ups
Past pending appointments: record the decision
Review overdue appointments first and record what happened without losing unresolved visits.
Read guide →Appointments & follow-upsReview website appointment requests
Turn an incoming request into a confirmed clinic booking.
Read guide →Appointments & follow-upsUse follow-ups and team assignments
Keep the next action and responsible person clear.
Read guide →Messaging & integrationsConnect WhatsApp and check message delivery
Provider setup and delivery status matter.
Read guide →Still need help?
Send your clinic code and the exact issue. Keep passwords and patient information private.
Contact AlphaRapid All guides